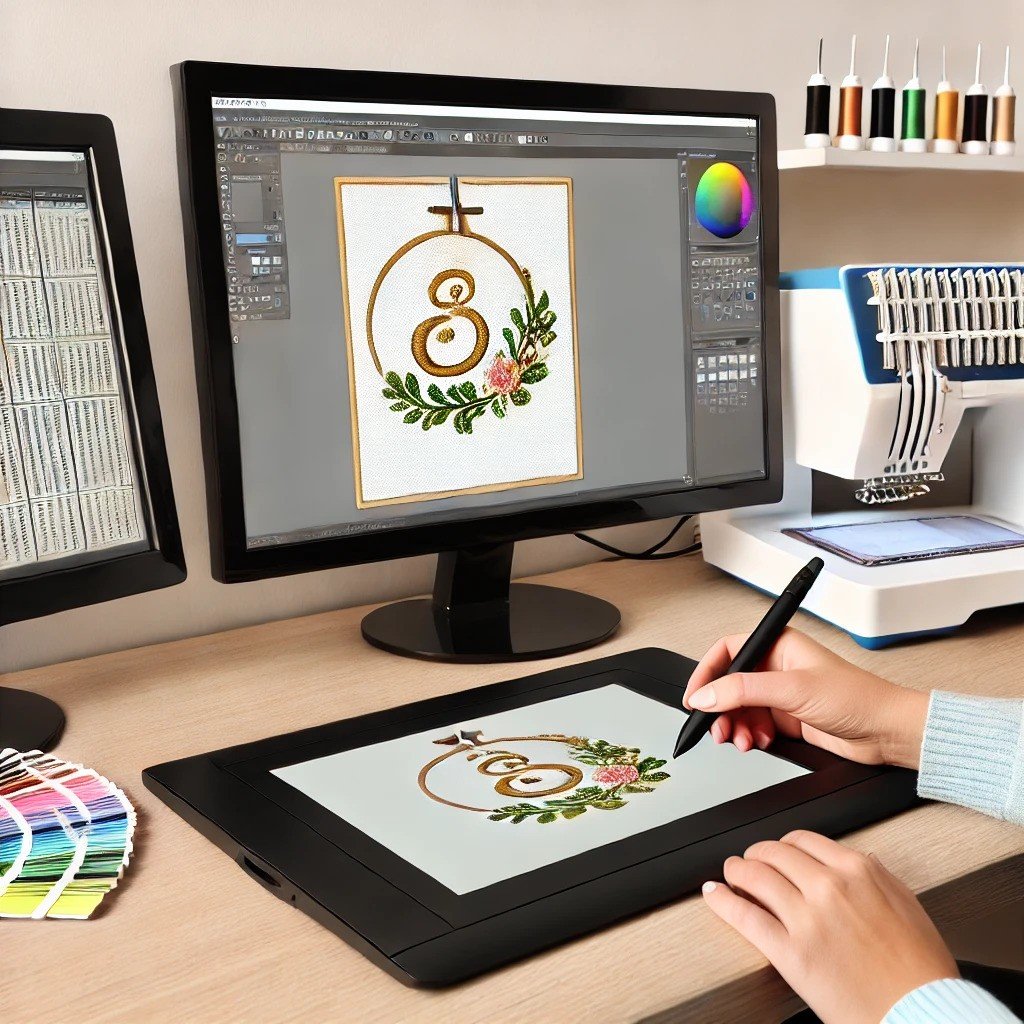
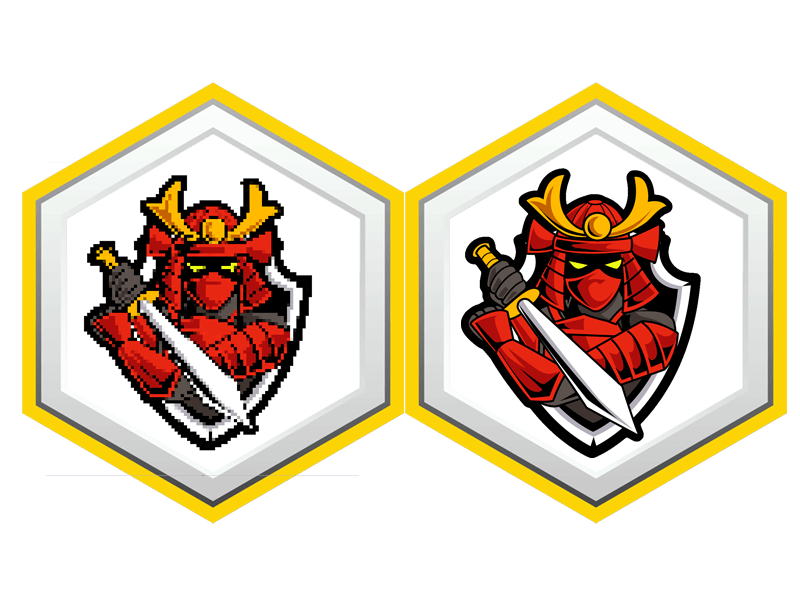
To get an image digitized for embroidery, start by choosing a suitable image, preferably simple and high-definition. Use digitizing software or a service provider to transform your image into an embroidery-friendly format like .dst, .jef, or .exp. Upload your image, adjust designs like stitch type, density, and color using the software tools, then convert it. Confirm that your chosen software matches your embroidery machine's required format for seamless stitching. As you journey further, you'll gain in-depth understanding of effective digitization techniques and details that lead to excellent results.
Choosing a Digitizing Service Provider
When selecting a digitizing service provider, it's crucial to seek out those experienced in handling various file formats like GIF, JPEG, and vector formats. These formats play a critical role in digitized embroidery.
Your chosen provider should have specialized embroidery software like Pre-Design Studio for efficient logo conversion. Cost is another factor that must be taken into account. Typically, these services range from $50 to $75, so find a provider that offers accurate file format conversions within your budget.
Don't hesitate to ask for recommendations from local embroidery shops or online platforms. Finally, evaluate each provider based on their expertise, turnaround time, and their ability to accurately replicate custom artwork for embroidery. Your embroidery project's success hinges on this critical first step.
Uploading Your Desired Image
Now let's focus on uploading your chosen image for embroidery digitization. We'll walk you through the online image uploading process, and also discuss some common issues you might encounter and how to troubleshoot them.
Choosing the Right Image
Selecting the ideal image for your embroidery digitization project can make a significant difference in the end result. You'll want a high-quality image with clear lines and distinct colors.
Simple designs are easier to convert into an embroidery file, so avoid intricate gradients, shading, or small text.
Also, the file format matters. JPEG, GIF, or vector formats are typically suitable for efficient digitization.
It's important to take into account the size of your image in relation to your embroidery hoop. The image must fit properly for digitization.
Online Image Uploading Process
After you've chosen your ideal image, it's time to upload it to an online platform like vectormagic.com/home for conversion to a vector format suitable for embroidery. Make sure the image file is in GIF or JPEG format before you start.
Once uploaded, the platform converts your image to an EMF file, a format commonly used for embroidery designs. After the conversion, it's time to utilize your embroidery digitizing software. Upload the EMF file to a software like Wilcom for further customization.
You can adjust the size, stitch types, and colors based on the software's specific guidelines to get the best results. Remember, the key to perfect embroidery lies in the details of your digitization process.
Troubleshooting Upload Errors
If you're facing errors while uploading your desired image for digitization, there are several strategies you can employ to troubleshoot and resolve the issue.
First, make sure your image is in a compatible format like GIF, JPEG, or vector for embroidery digitization. Also, verify the size and resolution of your image; low resolution or large files can cause upload errors.
Confirm that your image doesn't have copyright restrictions blocking its use. If you're still having trouble, try clearing your browser's cache and cookies, then re-upload the image.
If the issue persists, contact the digitizing service provider for help or consider using a different image that fits the requirements for embroidery digitization.
Understanding Embroidery File Formats
Often, you'll need to comprehend embroidery file formats like .dst, .jef, and .exp to guarantee compatibility with various machines. Each embroidery machine brand may demand a specific file format for best results. For instance, .dst is ideal for Tajima machines, .jef for Janome, and .exp for Melco. These aren't random selections, but industry standards.
So, understanding these embroidery file formats is vital. If you're using digitizing software to convert your artwork into an embroidery design, it's important to know the appropriate file format. This knowledge ensures your design translates accurately to stitches and your machine can read the file.
Making Design Adjustments
When digitizing images for embroidery, you'll need to make key design adjustments, considering important factors like stitch type, density, and size to guarantee excellent results. Specialized software tools are your allies in this process. They help you adjust colors, resize artwork, and set thread placement perfectly.
Furthermore, you may need to select fill types for different color shapes and outline details for text or line work. Sometimes, omitting certain colors may enhance the clarity of your Embroidery Designs.
Here's a brief summary:
| Key Adjustment | Purpose | | --- | --- | | Stitch type selection | Influence texture and appearance | | Resizing artwork | Fit the design to the embroidery area | | Color adjustment | Improve the design's visibility and appeal | | Thread placement | Ensure smooth and accurate stitching|
Completing the Digitizing Process
Now that you're wrapping up the digitizing process, let's talk about some final steps you'll need to take.
It's important to understand how to select the right settings in your software and how to make the most of digitizing techniques.
From setting your machine and hoop size, to using auto-digitizing features, customizing fill types, and color management, these aspects are essential to achieving a high-quality, accurate embroidery design.
Selecting Appropriate Software
To complete the digitizing process effectively, you'll need to select the right embroidery software such as Wilcom, Brother, Husqvarna, Janome, or Embird. Your chosen software should support the file formats your machine reads. Look for versatile features like resizing options, stitch type selection, and thread color customization.
Ensure the software you choose is compatible with your embroidery machine for seamless digital file transfer. Also, consider the learning curve, user interface, and customer support available. Here's a quick guide:
| Software | Machine Compatibility | Key Features | | --- | --- | --- | | Wilcom | Most Machines| Resizing, Stitch Selection, Color Customization | | Brother | Brother Machines | Easy Interface, Customer Support | | Husqvarna | Husqvarna Machines | Wide Format Support | | Janome | Janome Machines | User-friendly, Good Support | | Embird | Most Machines | Versatile, Easy Learning Curve |
Understanding Digitizing Techniques
Understanding digitizing techniques is crucial as it involves carefully planning thread placement, stitch types, and trims using software like Wilcom to convert complex graphics into embroidery files.
It's a meticulous process, where you'll need to accurately plan stitches for effective results. Remember, converting your artwork into thread form isn't a piece of cake. It requires practice and a good understanding of embroidery machines.
As you navigate through this process, you'll learn to take into account thread placement, densities, and stitch lengths seriously. All these elements play an essential role in creating perfect embroideries.
However, don't be disheartened if it's challenging at first. With time, you'll get the hang of these digitizing techniques, and your embroidery projects will come out beautifully.
Receiving Your Digital File
Once your artwork becomes a digitized embroidery file, you'll receive it in a specific format like .dst, .jef, or .exp, ready to be transferred to your embroidery machine.
This digitized file, commonly provided as a .dst file, is the result of the digitizer's work. Most digitizing services offer digital download options, allowing you to access your embroidery files easily. Alternatively, you can request the file to be emailed to you or shared via a file-sharing platform for added convenience.
It's essential to save and back up your digitized files. This way, you won't lose your designs, and they'll be readily available whenever needed. Receiving your digital file is a significant step toward creating your embroidered masterpiece.
Using the File With Embroidery Machines
Now that you've got your specific embroidery file, it's time to transfer it to your machine and get ready for stitching. Remember, different embroidery machines require specific file formats.
For example, Tajima machines use .dst, Janome uses .jef, and Melco uses .exp. Make sure to choose the correct format for your machine. This guarantees seamless stitching and an accurate reproduction of your digitized image.
Understanding your machine's file compatibility is vital. Using the appropriate file format guarantees successful embroidery results and prevents any compatibility issues during the stitching process.
With the correct file in hand and an understanding of your embroidery machine's requirements, you're all set to produce great embroidery work.
Tips for Successful Digitization
While your digitized image is ready for your embroidery machine, there are a few key strategies to keep in mind for successful digitization. First, always consider the type of material and surface shape. These factors will have a significant impact on your thread choice and stitch types. Practice makes perfect, so don't be afraid to experiment.
Second, make use of specialized software like Wilcom or Brother for efficient digitization. These tools can make a world of difference in your machine embroidery projects.
Lastly, understand the differences between file formats such as GIF, JPEG, EMF, and vector, as this can affect your final output. Remember, professional digitizing can be pricey, so it's worth learning these tips to save money in the long run.
Conclusion
So, you've navigated the world of digitizing for embroidery! By carefully selecting your service provider, understanding file formats, and making necessary design adjustments, you've successfully completed the digitizing process.
Now, it's time to bring your design to life using your embroidery machine. Remember, practice makes perfect, so don't get discouraged if your first few attempts aren't perfect.
Keep experimenting, and soon you'll be creating beautiful, custom embroidered pieces with ease.


